How I use MindNode
MindNode is great at summarizing videos, learning, and helping you remember things.
Plain text notes are my jam. But when I need something more visual, I reach for MindNode.
MindNode’s great for leveraging visual memory to learn new things, and to reference topics later.
I mostly use it to paraphrase and summarize existing content rather than flesh out my own ideas. For example, I used it to take notes when going through Andrew Ng’s legendary course on machine learning:
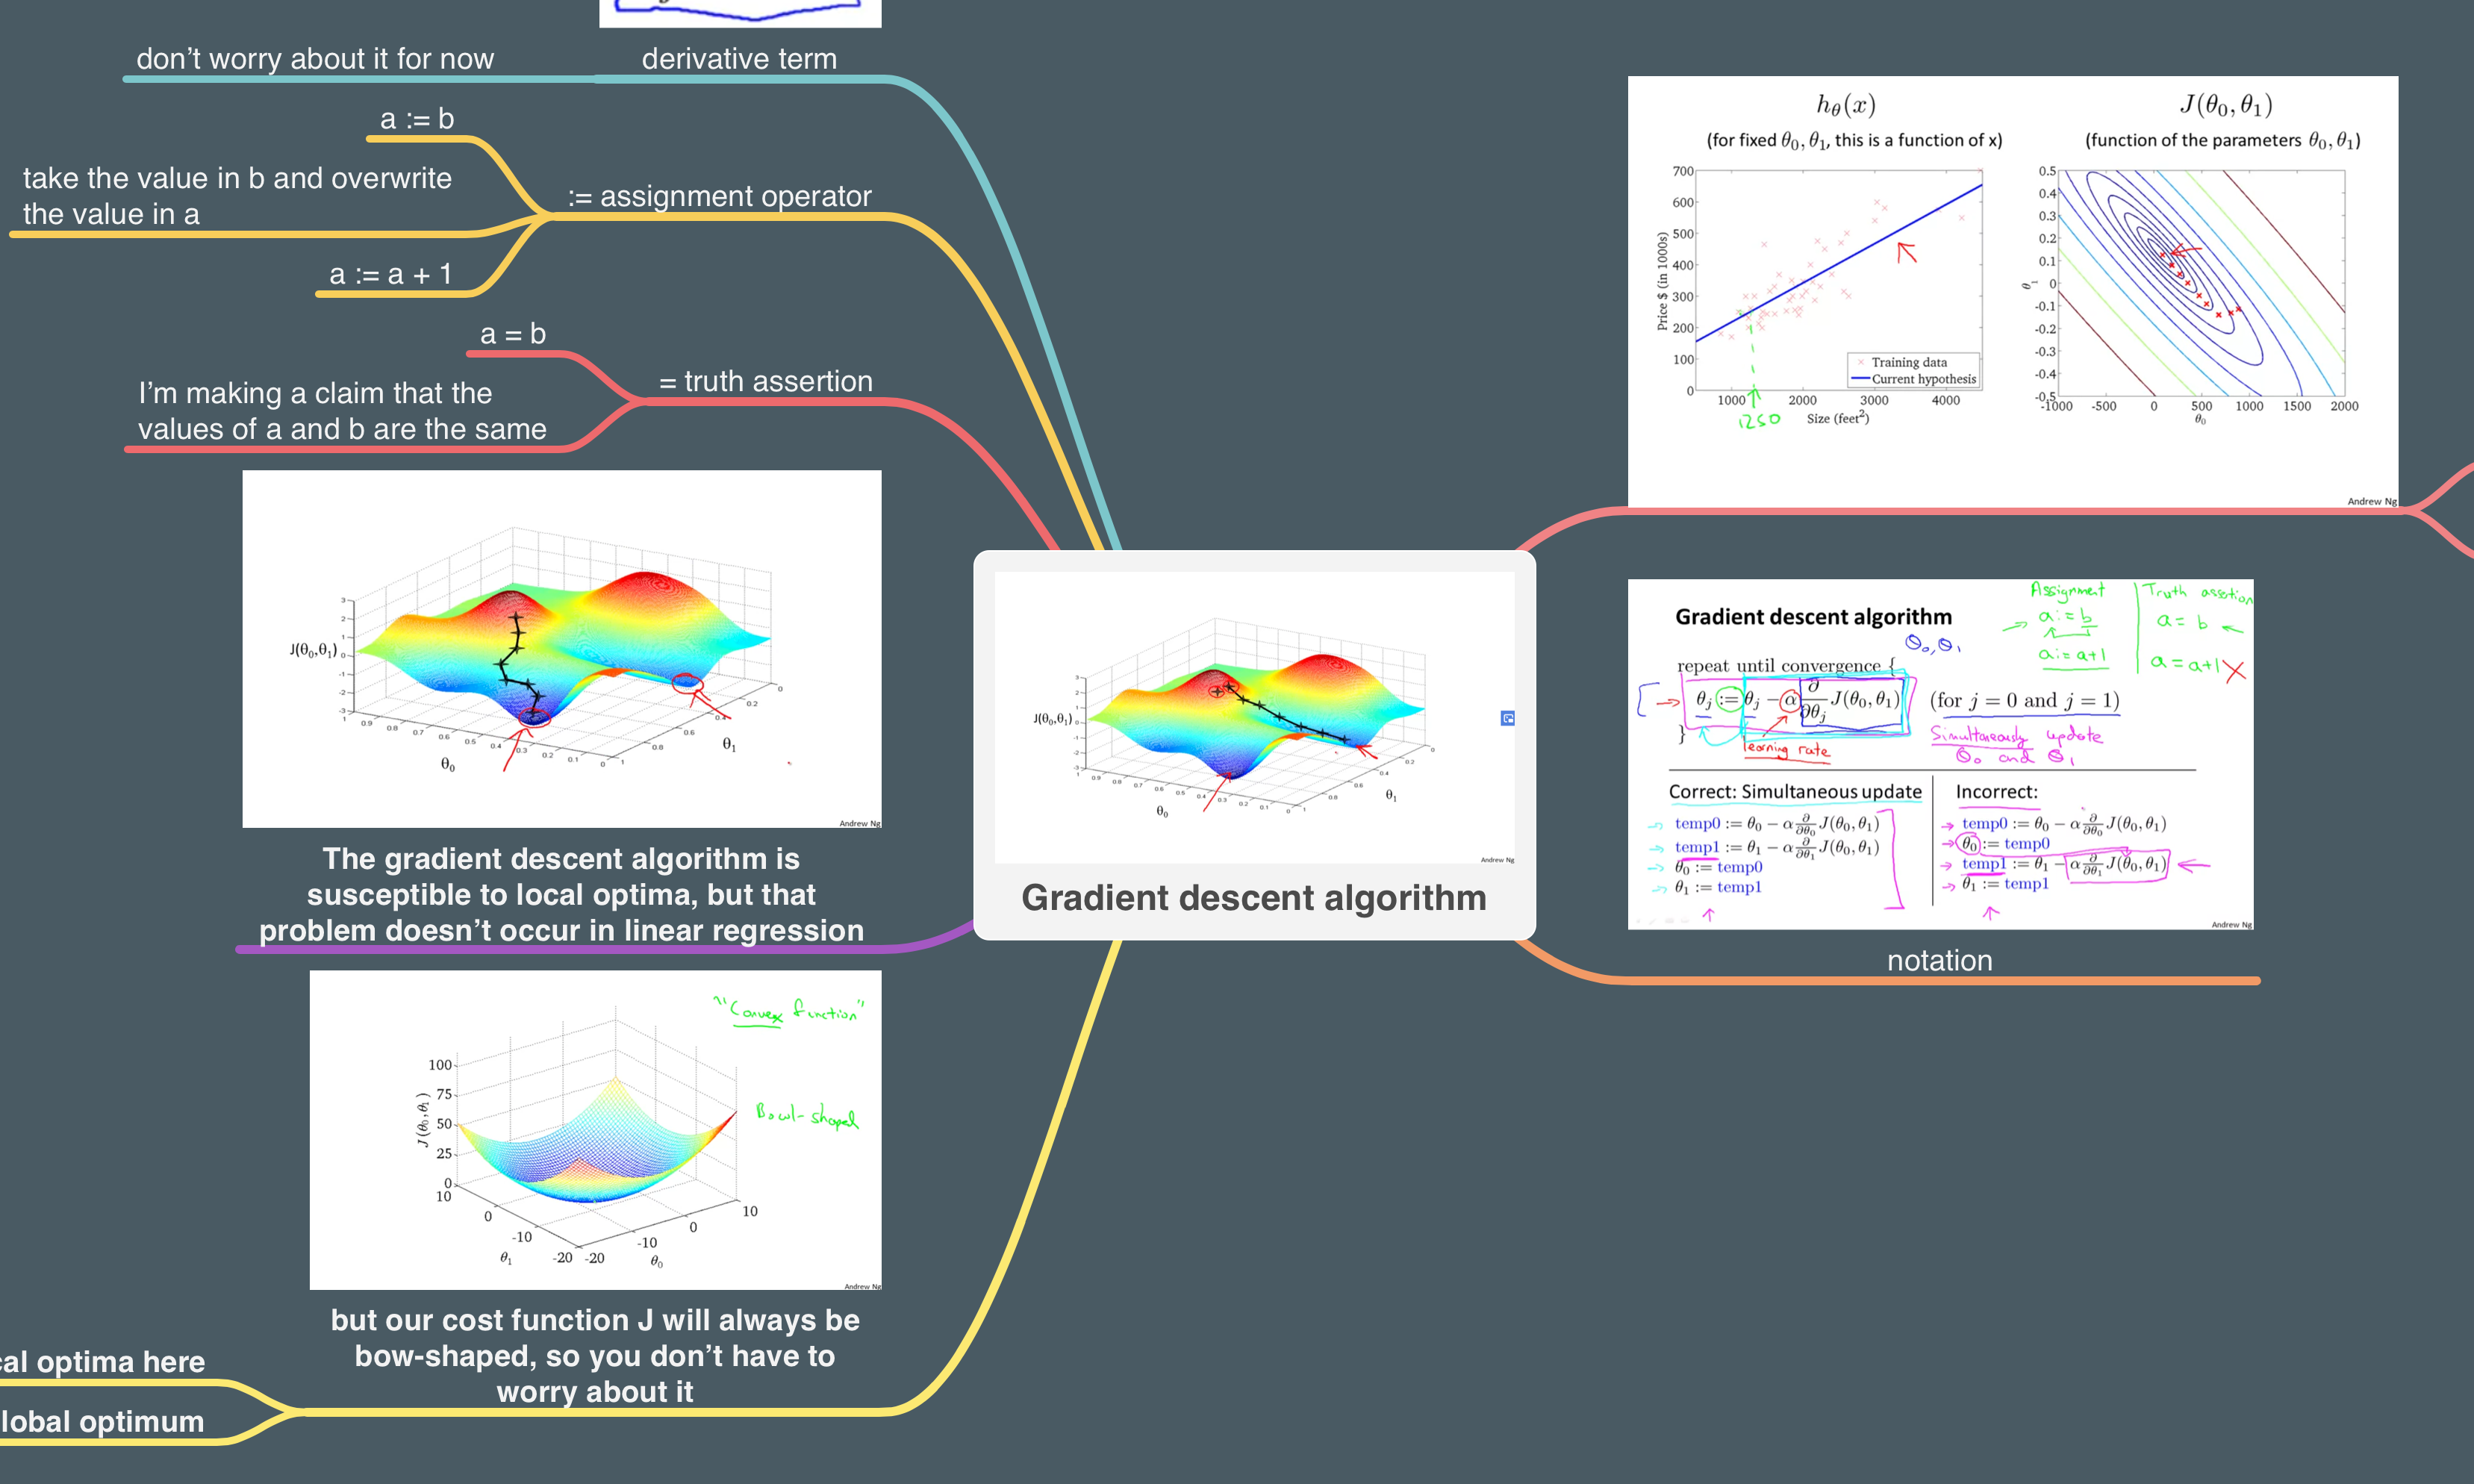
Sometimes a picture really is worth a thousand words
I use Notational Velocity for keeping a daily work log, jotting down quick thoughts, and researching topics, among other things.
Here’s what it looks like:
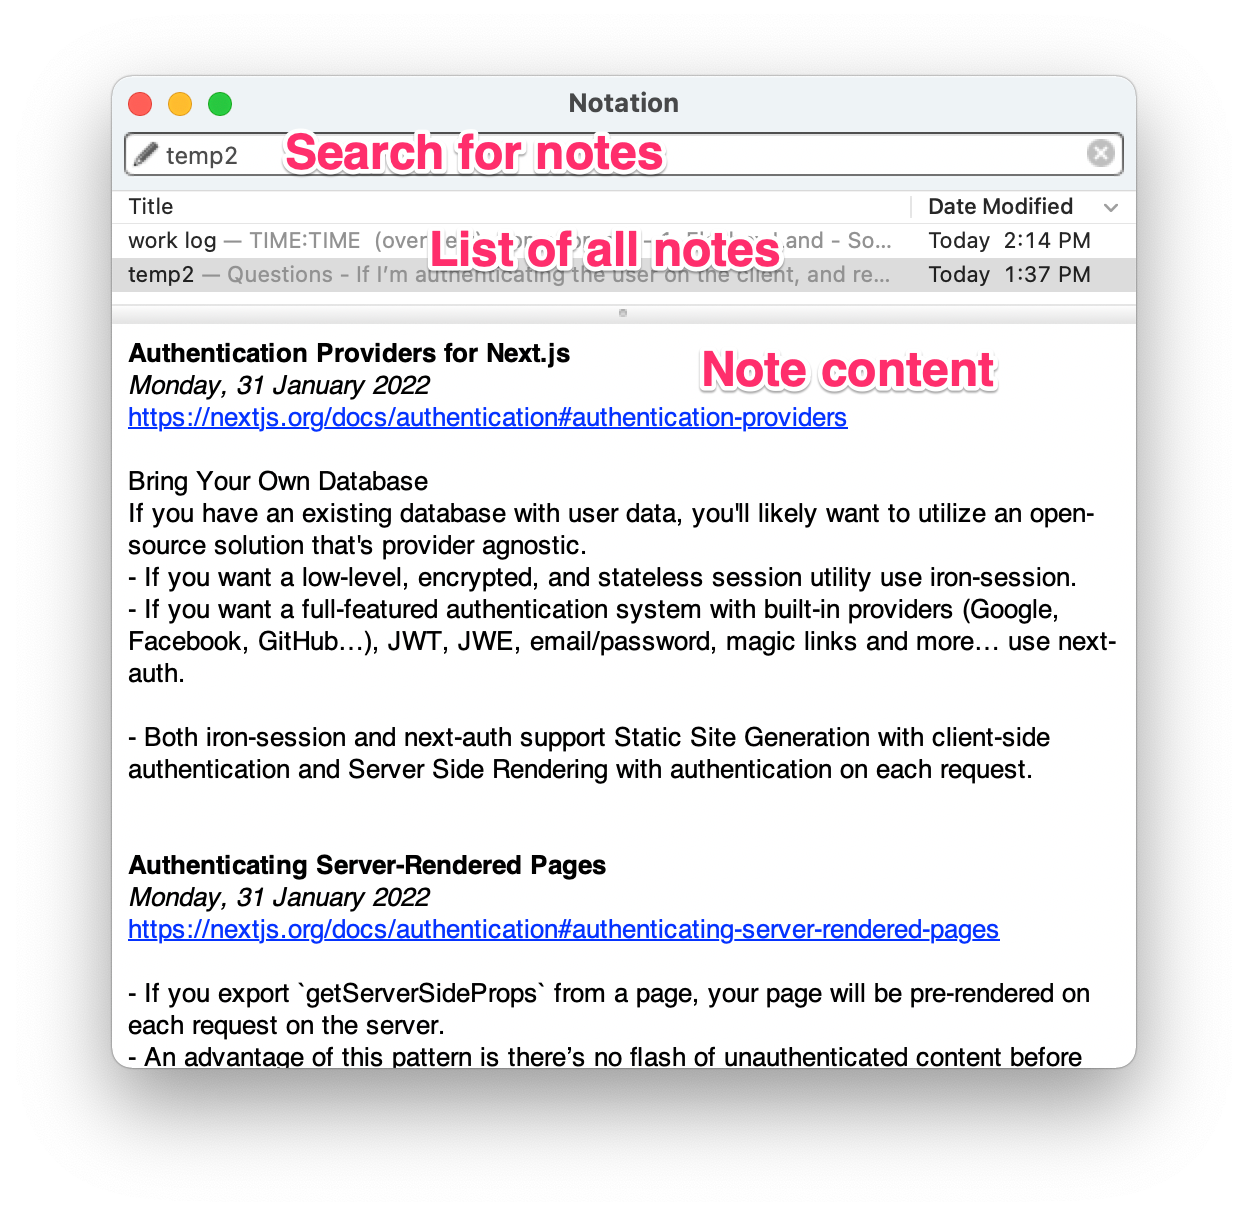
It’s probably my most used app of all time. It works great for almost anything I need to do. But it’s not a perfect fit for everything.
Imagine you’re learning a new concept from a video, and you want to take notes for future reference. Or, you’re summarizing a bunch of articles on a given topic. These are the exact types of situations when I’d reach for MindNode.
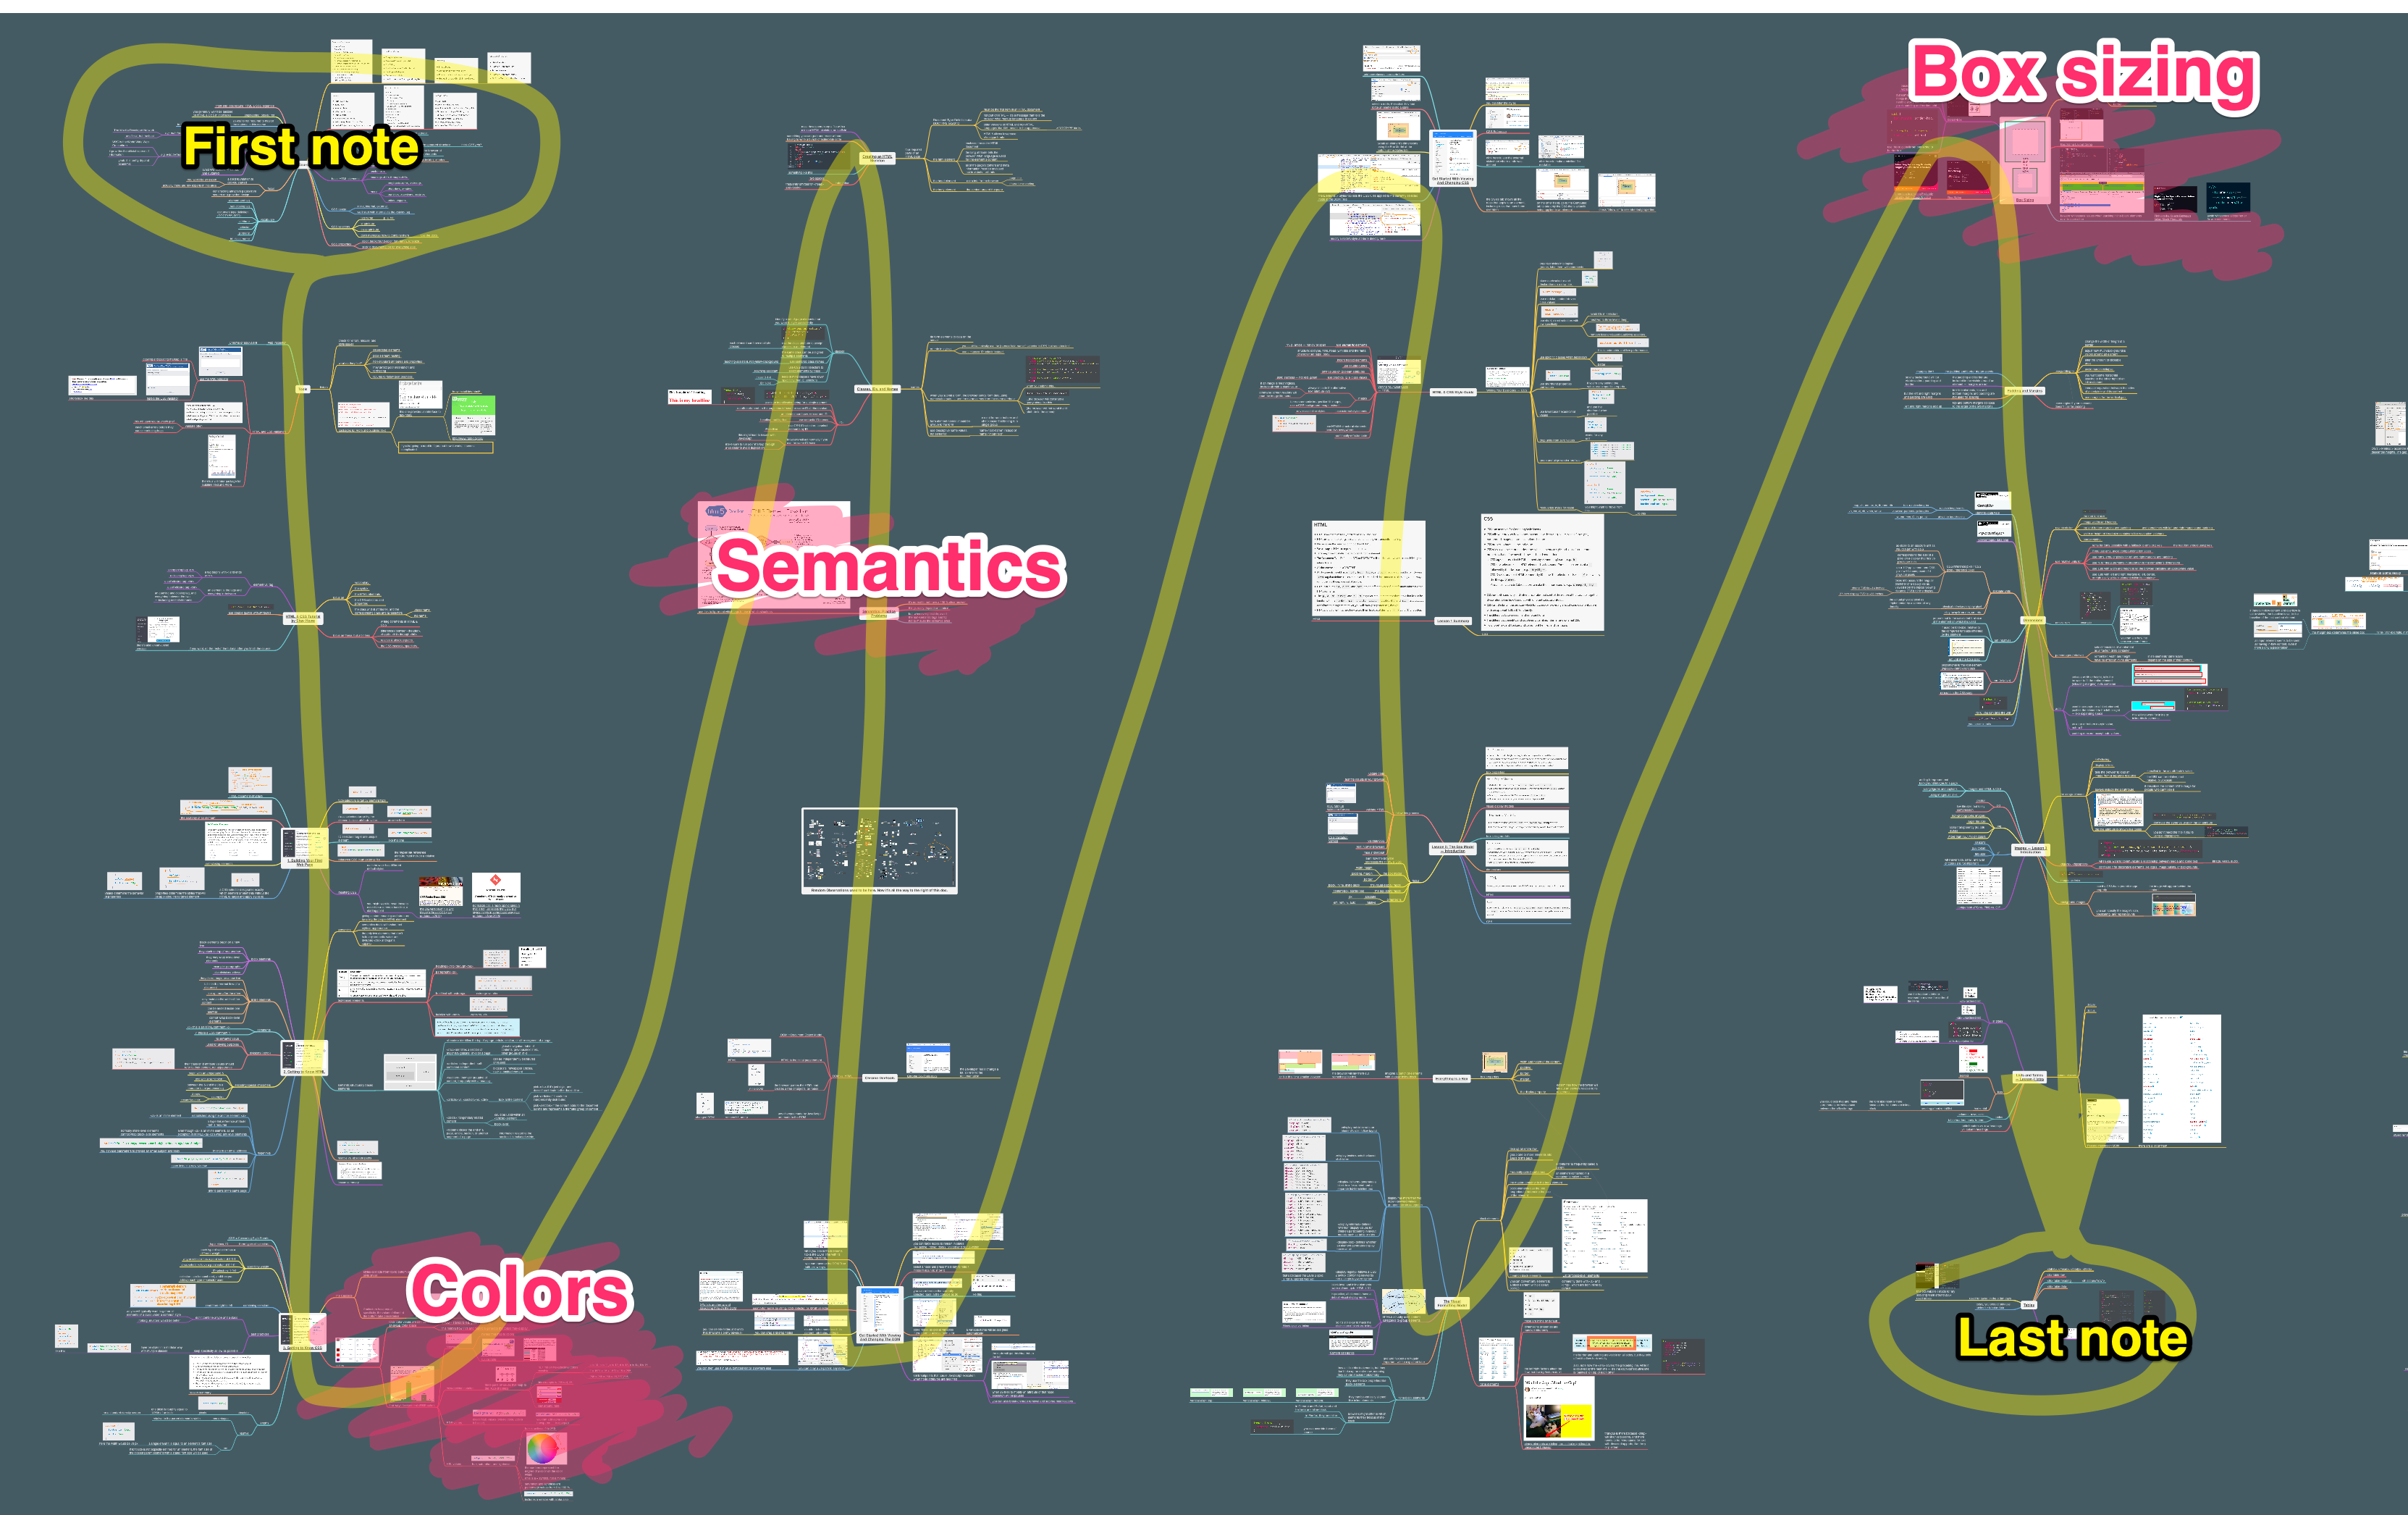
That first screenshot you saw at the top of the article? It’s a tiny part of a much bigger note that looks like this:
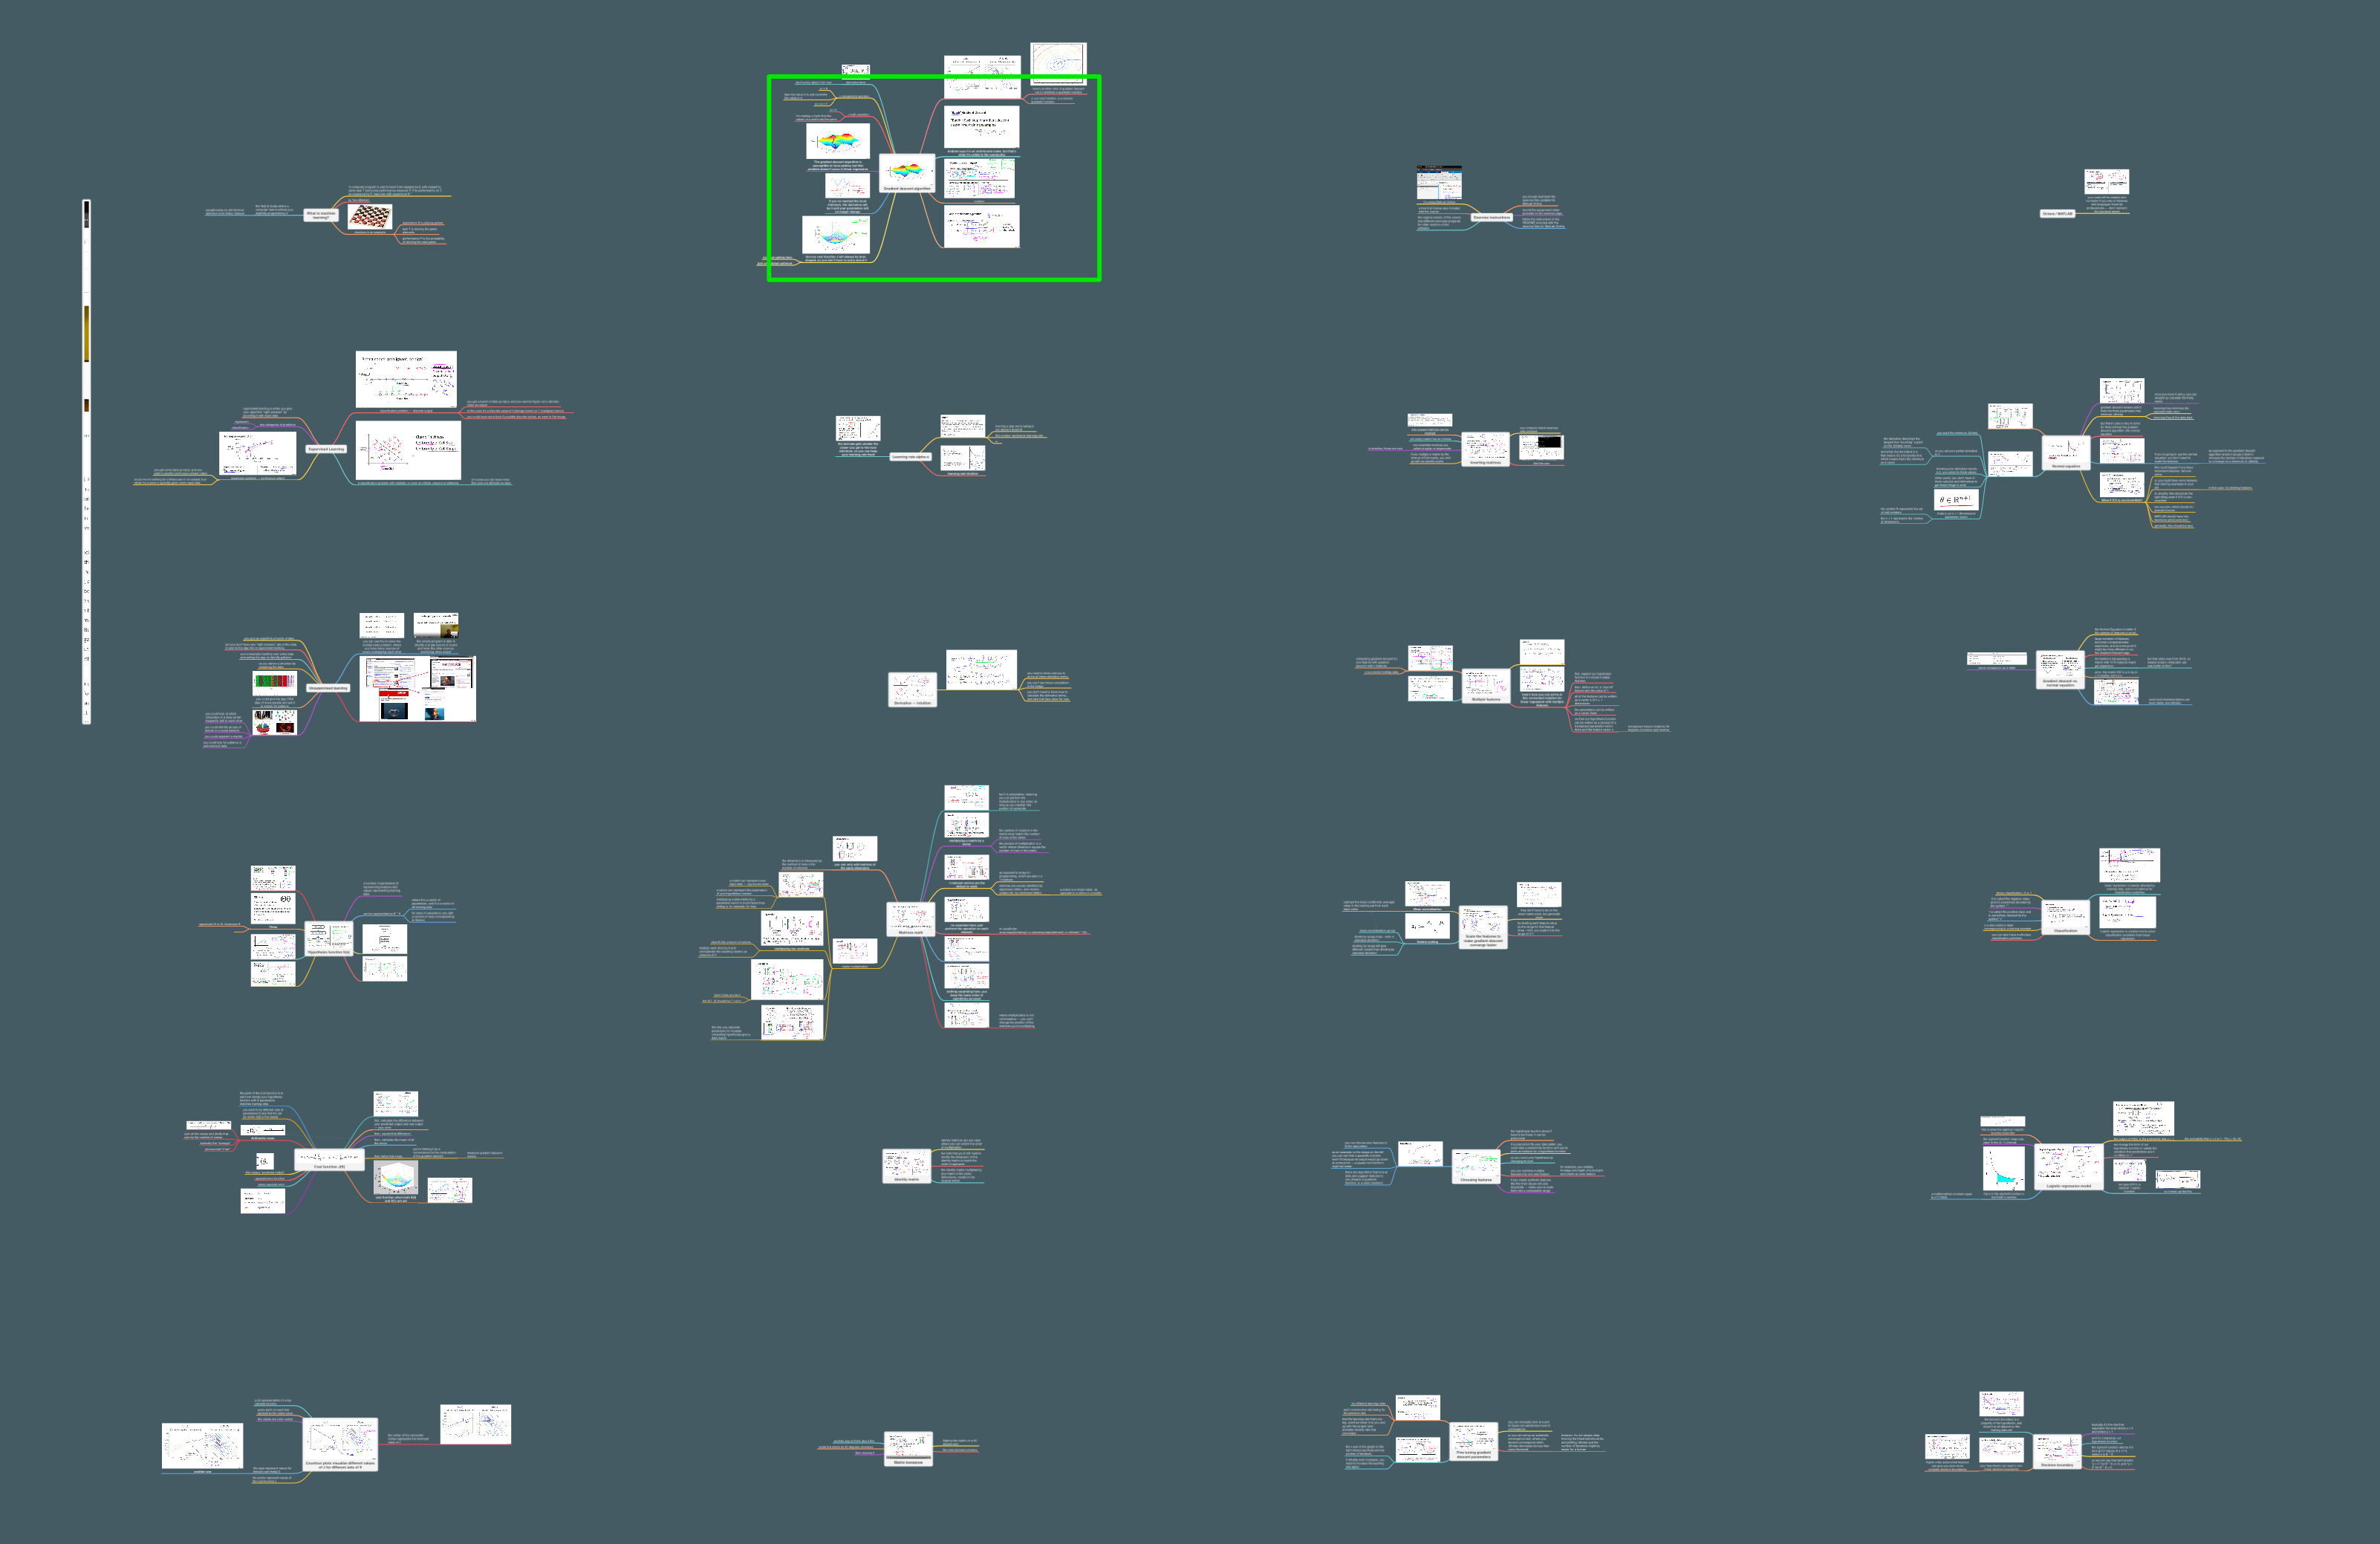
How I use it
Watching videos
Videos can be a great way to familiarize yourself with a topic. But because they are visual by definition, trying to summarize them in a text note is awkward.
You can always watch the video again, but that takes time. Or you might end up spending a bunch of time trying to find that one part you’re interested in.
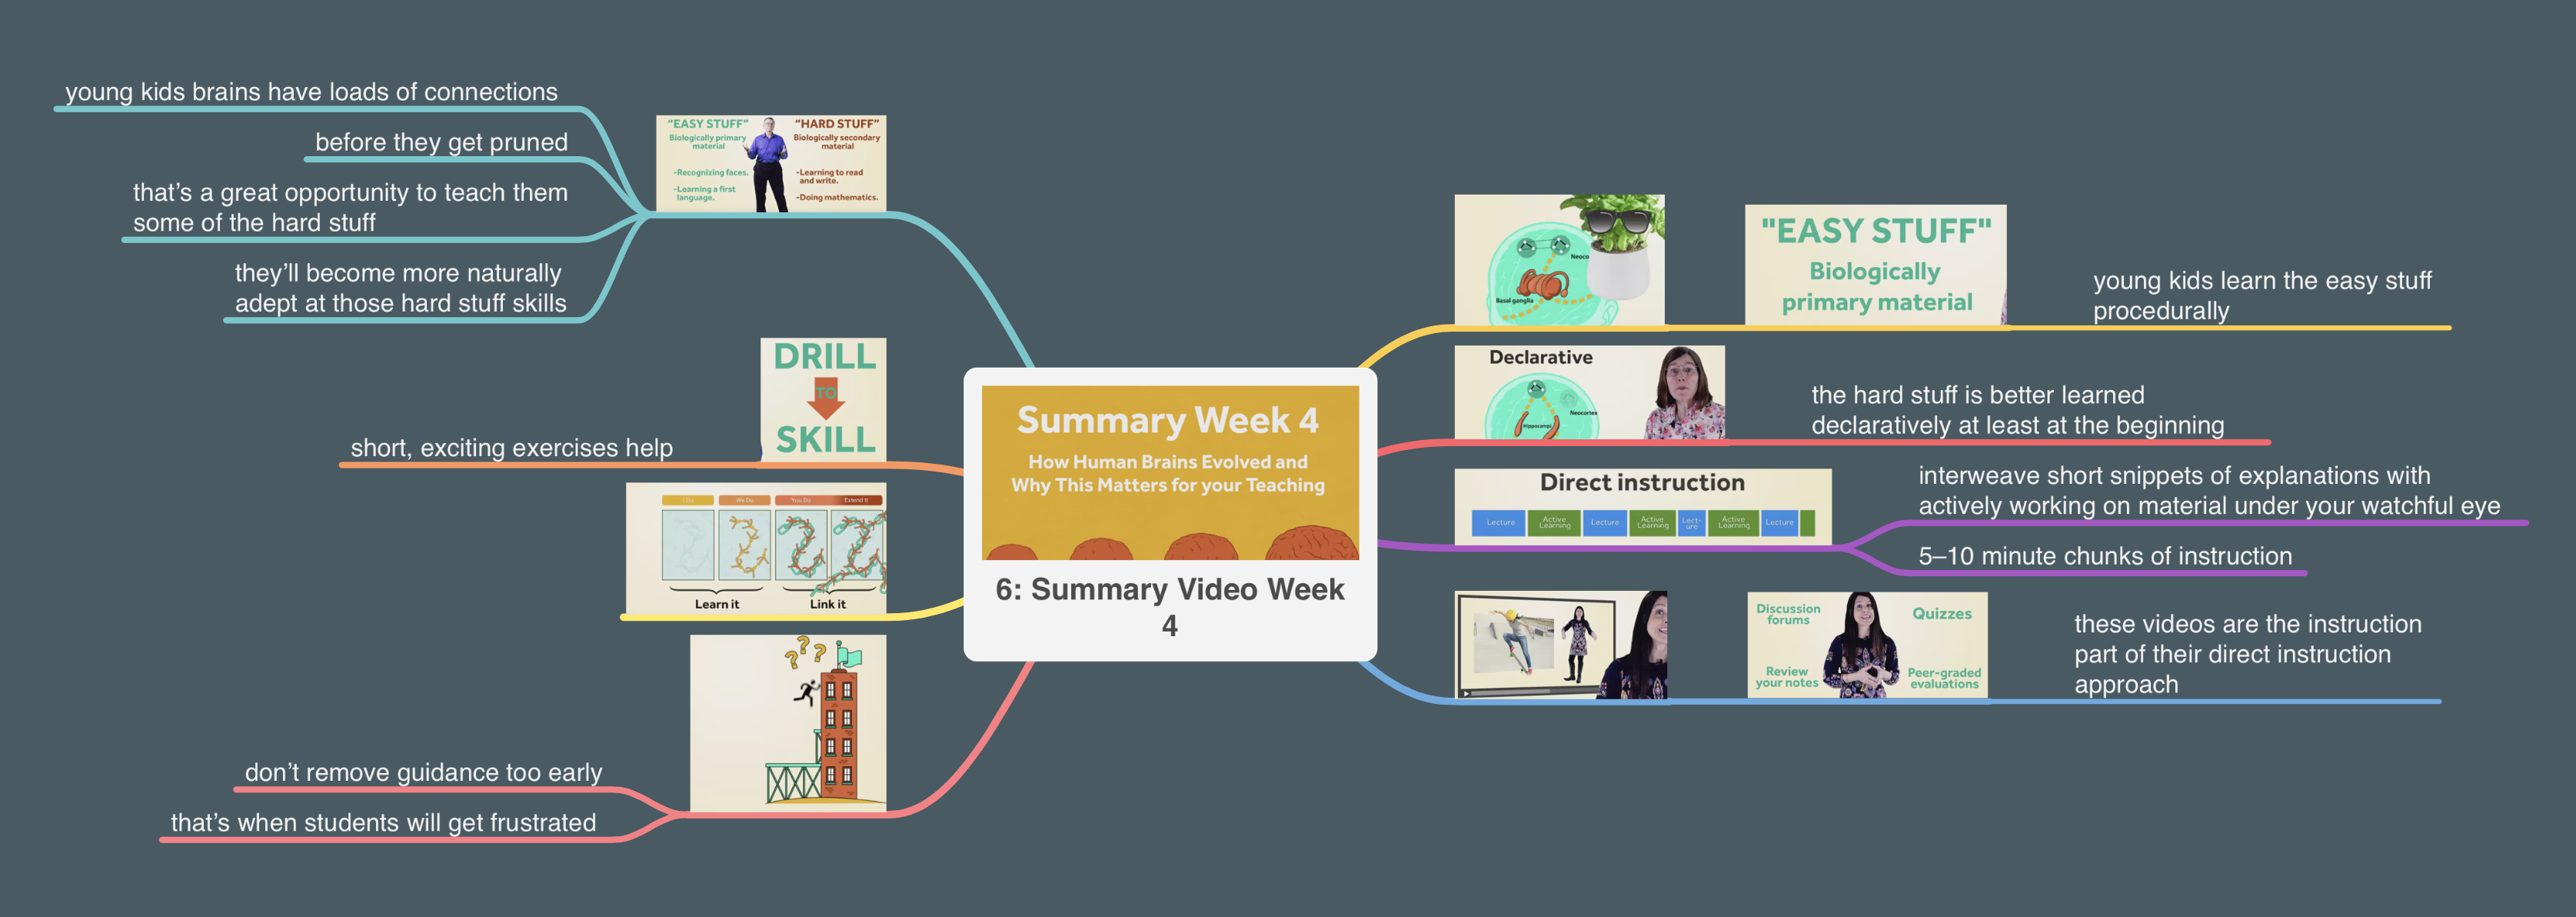
A video shows you one frame at a time, and it’s not easy to find the exact thing you want. Here’s an example from Uncommon Sense Teaching, another Coursera course:
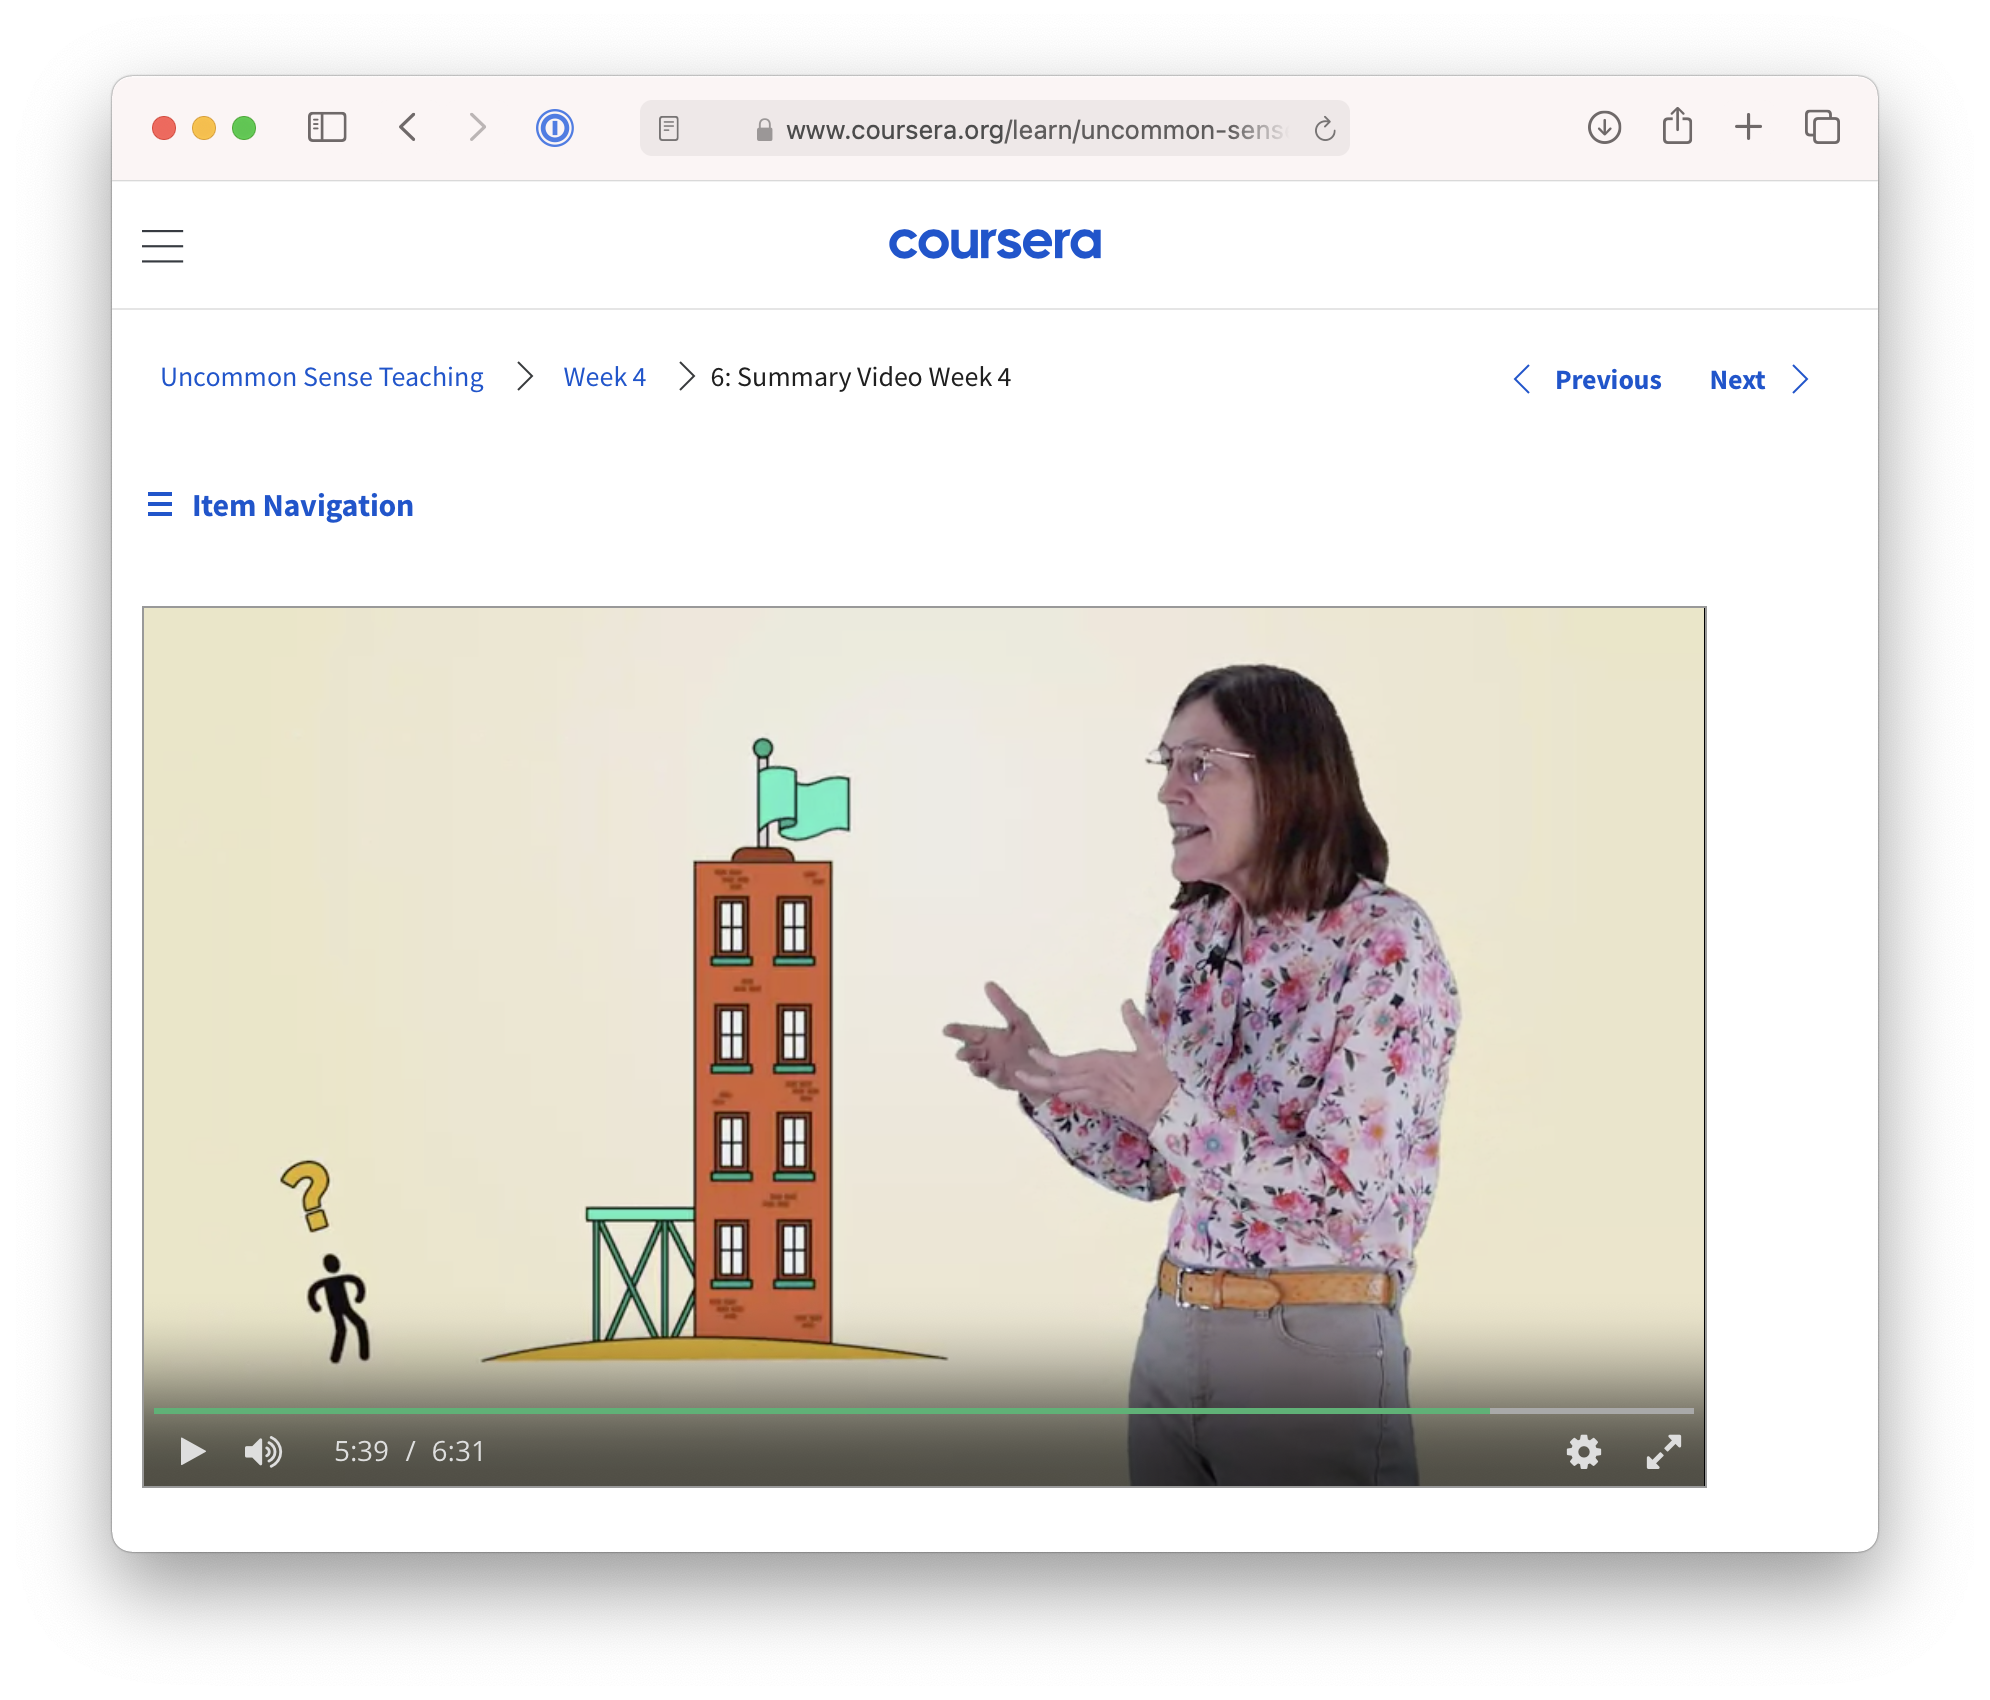
Instead of rewatching videos, I like to take screenshots at different points in the video and summarize them in MindNode:
Active note taking
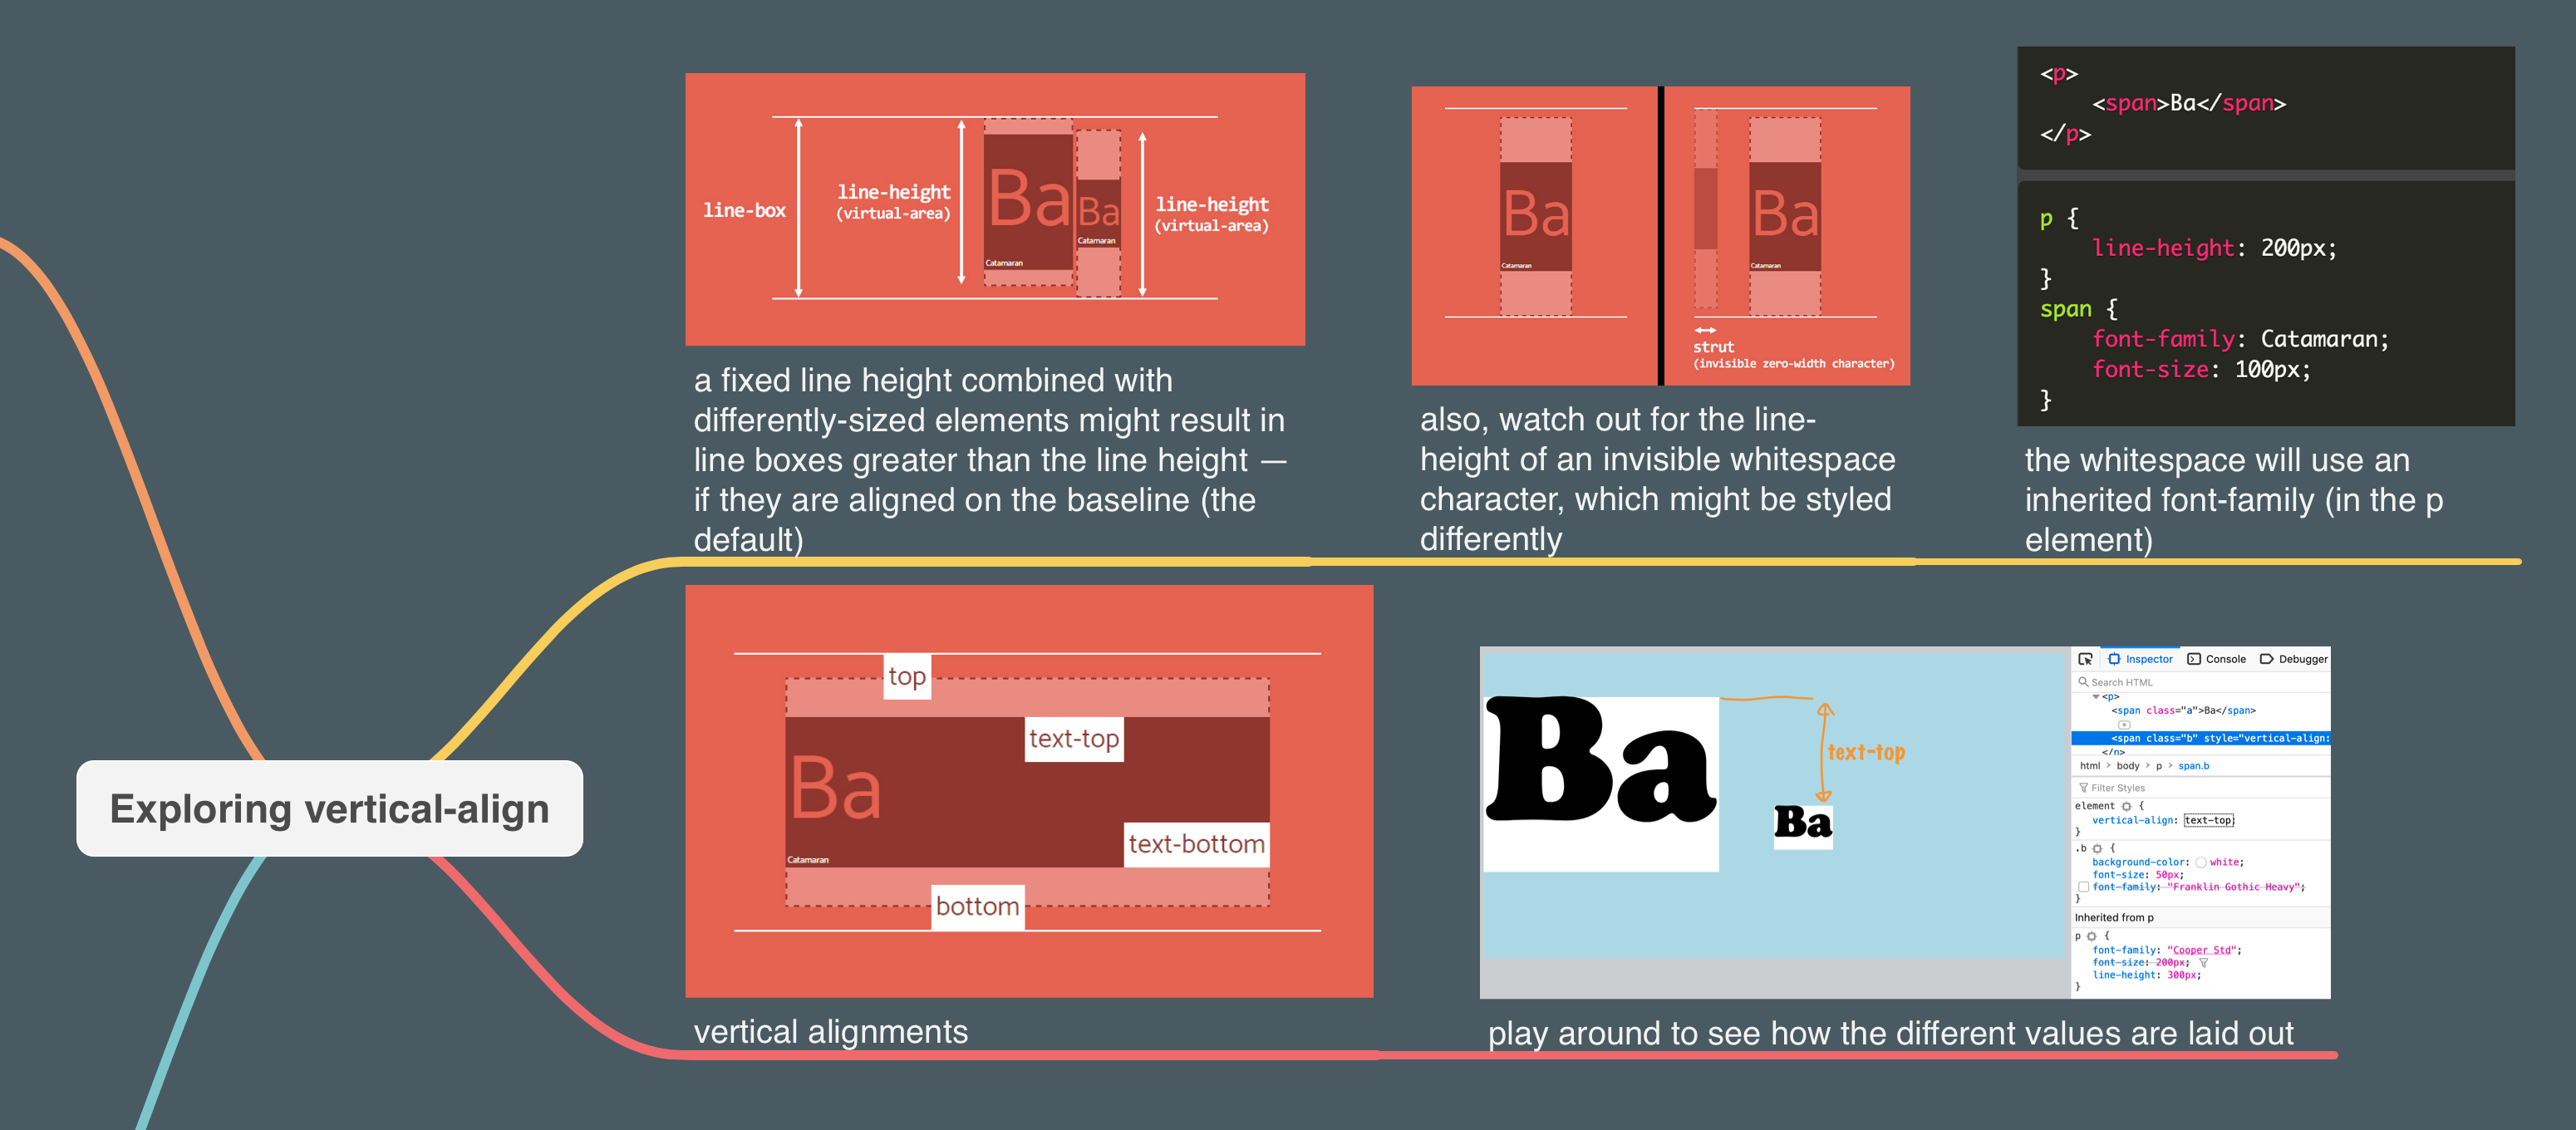
You can do this for articles, too. Say you want to explore vertical alignment in CSS. By putting together screenshots of the article and of your own explorations, you effectively create a little story for your future self:
Visual research
There are plenty of tools out there designed to help you do research. But, I found the simplicity of MindNode really good at helping me focus on whatever I’m looking into.
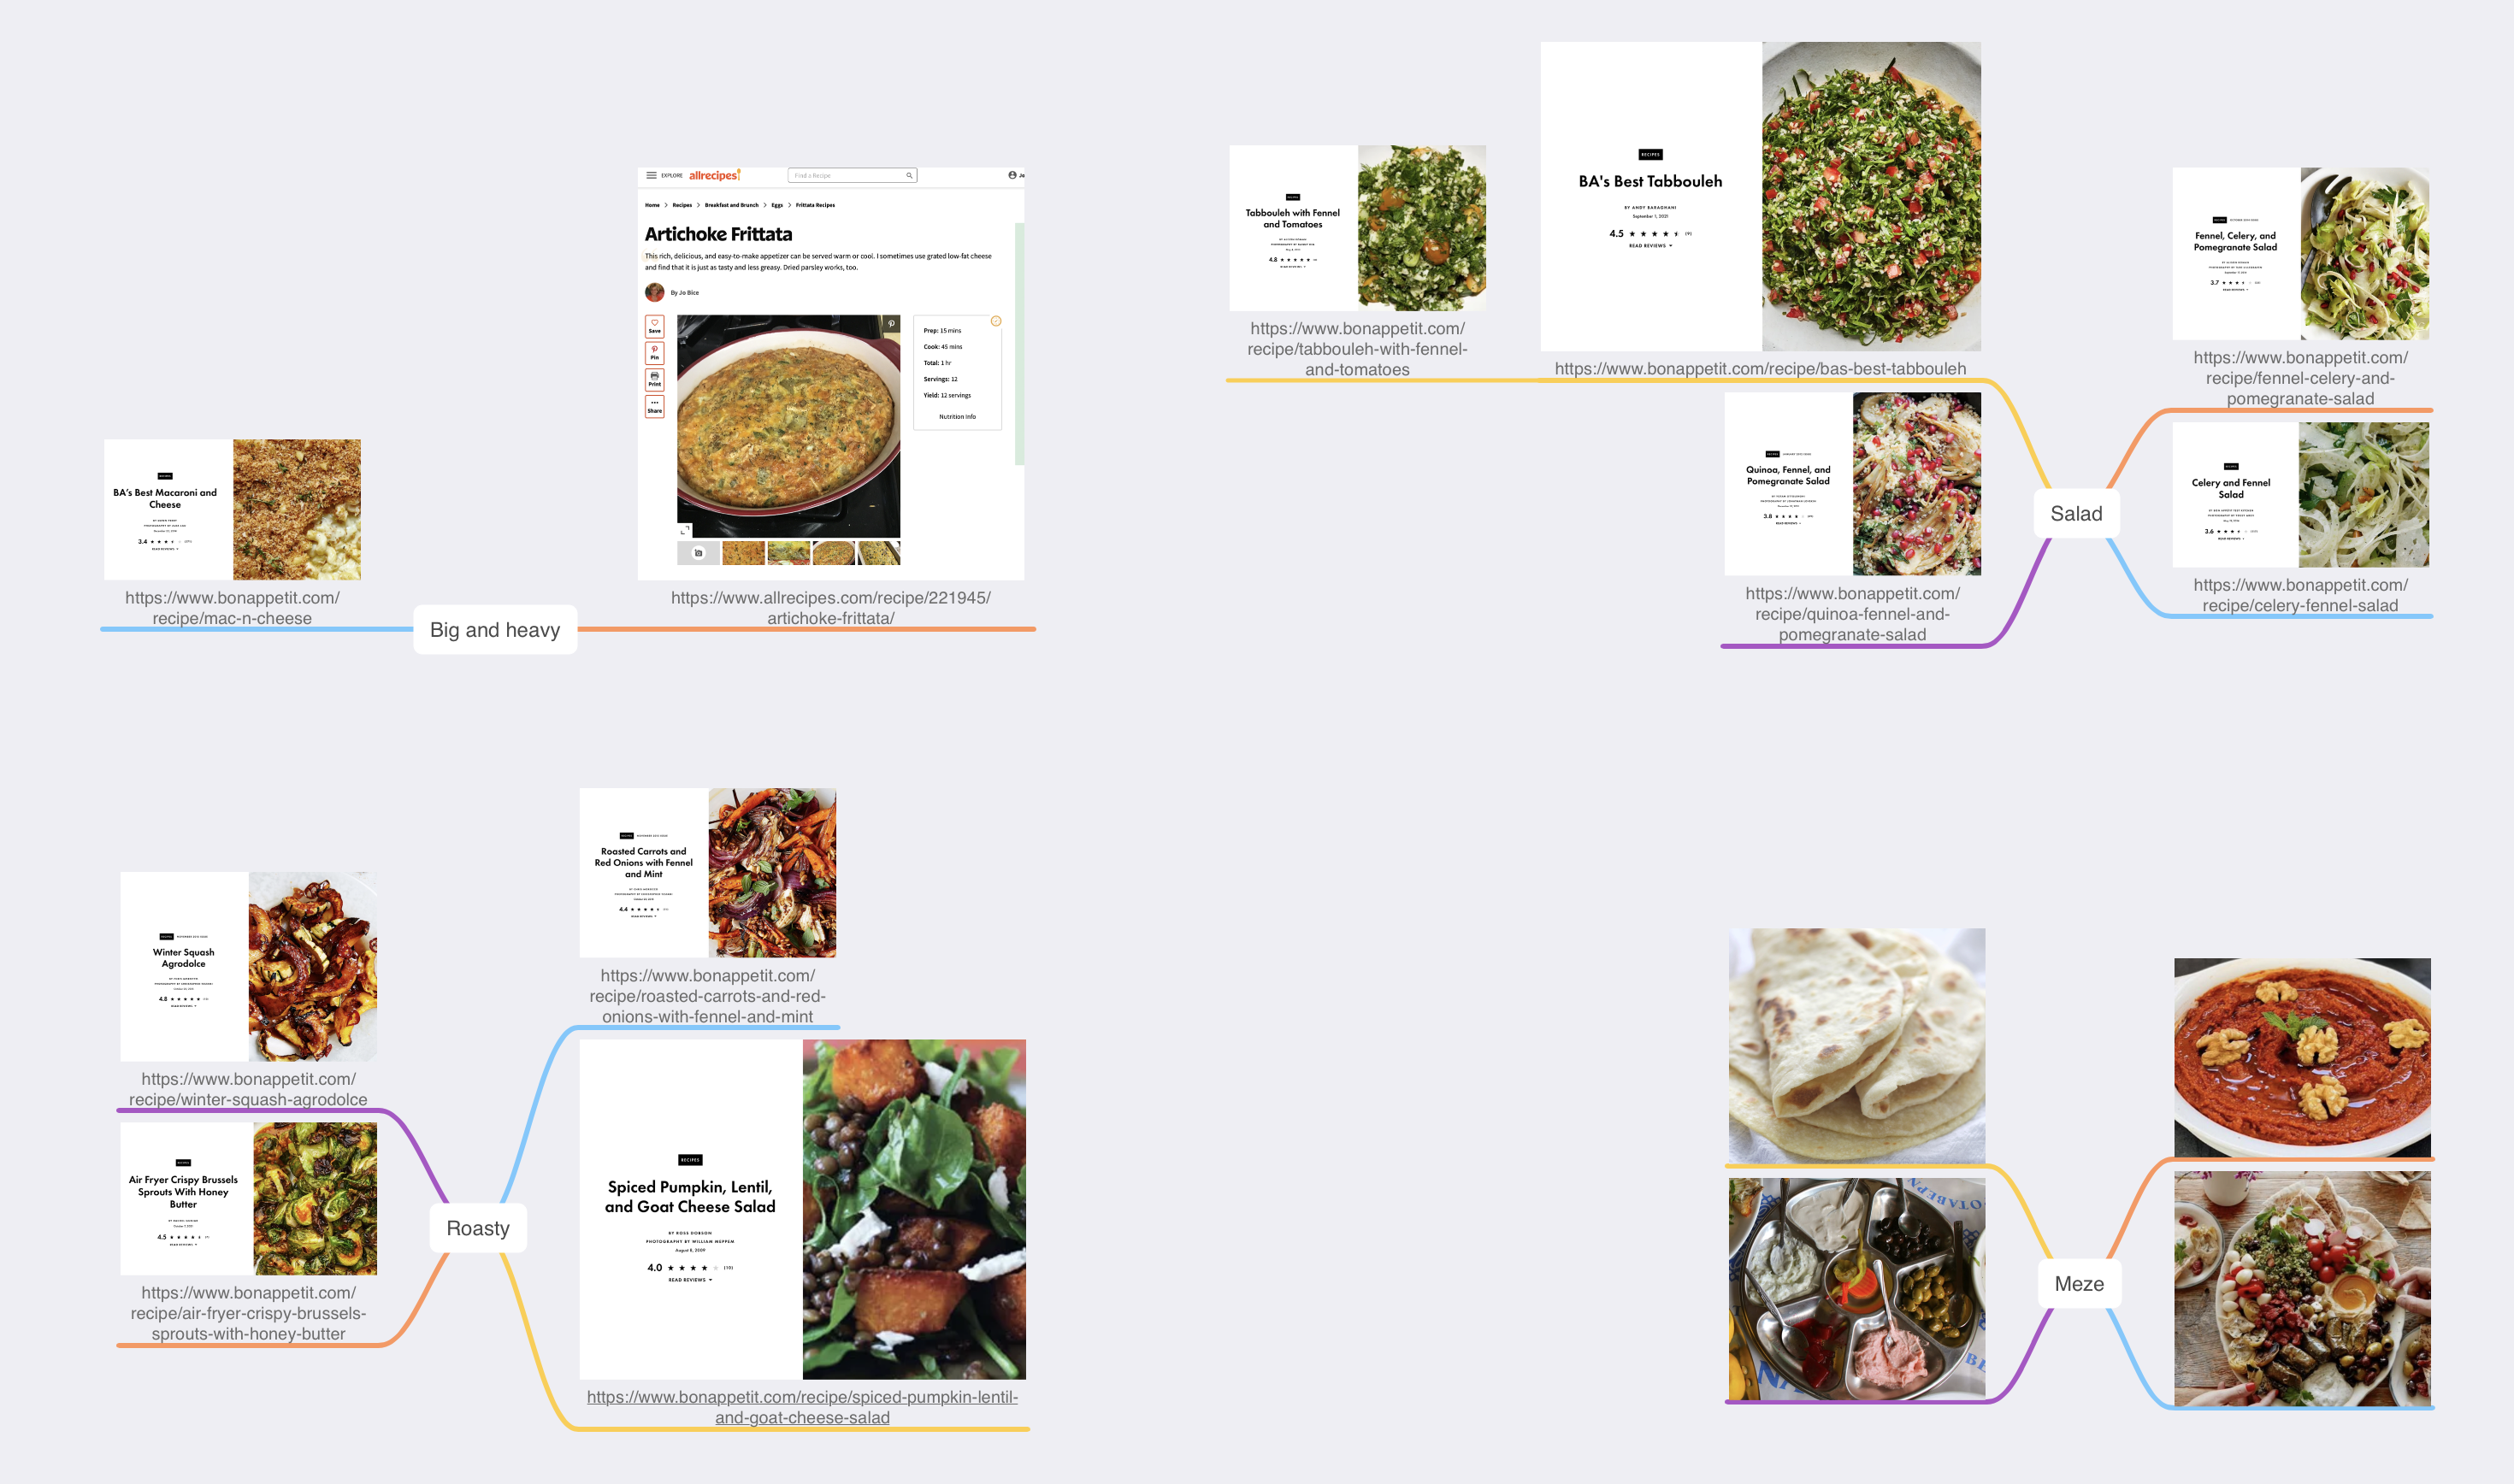
MindNode lays out everything on the canvas for you, so if you add another node, nothing will overlap. This is great, because you can focus on adding images and linking them rather than fiddling with tools.
For example, you could collect ideas for a lunch menu:
Remembering things later
Text is great in many ways, but it’s not exactly easy to scan. That’s why we use headings, bold text, colors, and so on to make it easier to parse information out of text. But it’s even easier if you leverage spatial memory and images.
I’ll usually order my notes in columns from top to bottom and from left to right. That makes it more clear what was added and at which point in time.
And the images are unique enough to make it super easy to locate what you’re looking for!
Tips
Find
All text nodes in MindNode are fully searchable. This is especially useful when you have hundreds of nodes in the file. And if you’re not sure which note you should be looking at, you can do a search across all your files with Finder or Spotlight.
Drag from Screenshot.app’s floating thumbnail
Press and hold Command, Shift, and 4 to take a screenshot of a portion of the screen. You’ll see a thumbnail of the screenshot you just took in the bottom right corner. You can click and drag that image straight into your MindNode file!
Mark up images
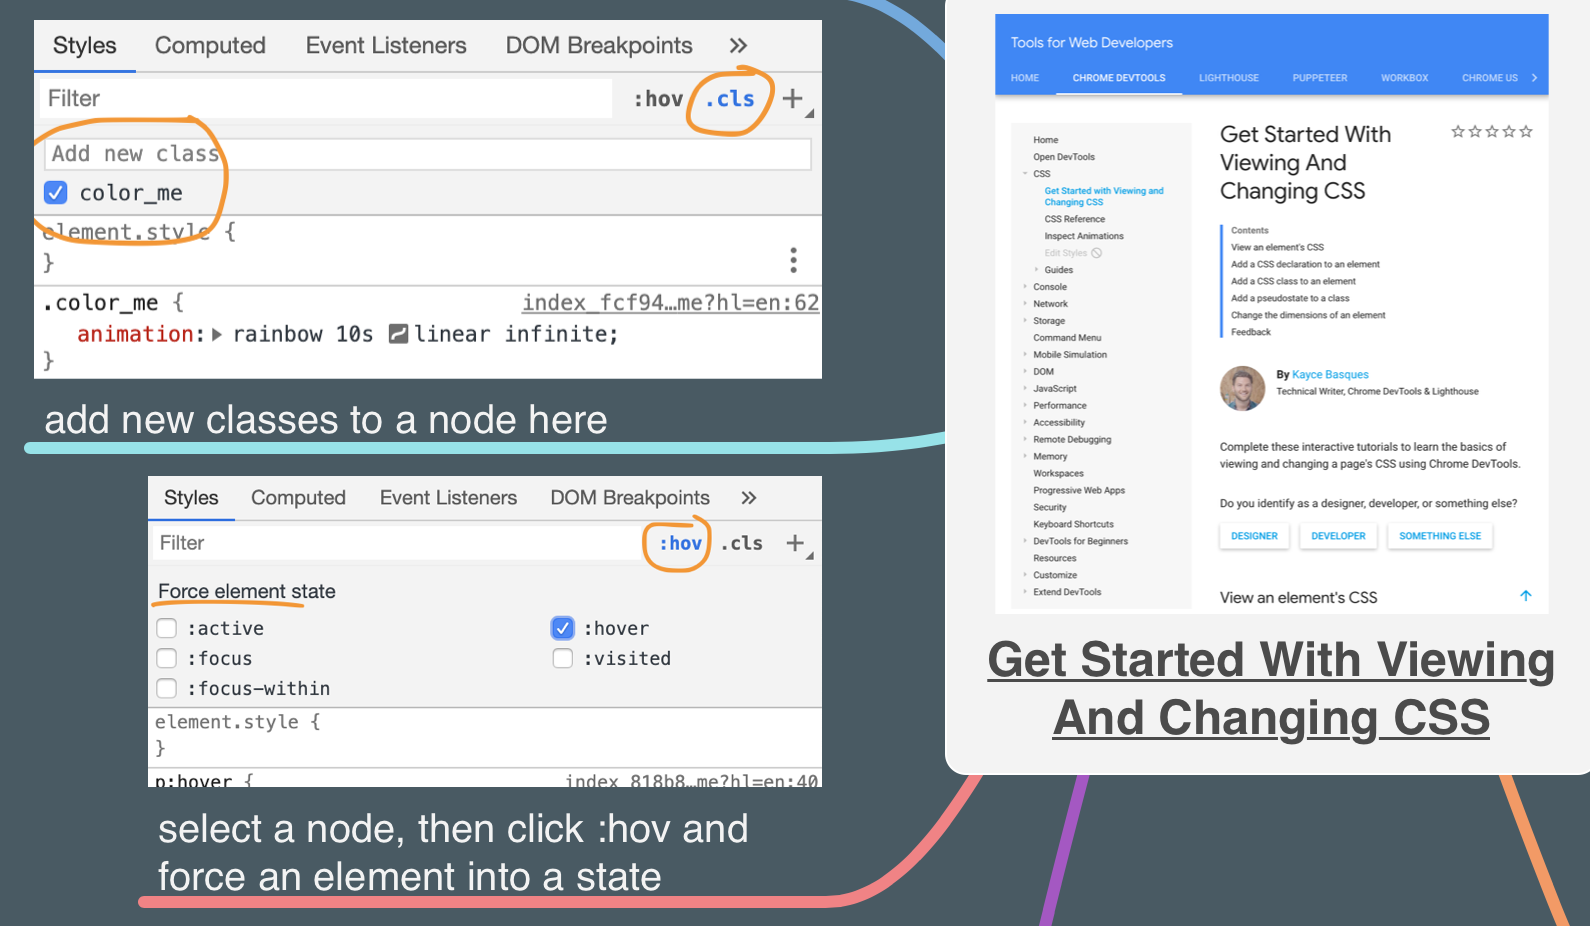
Use the macOS markup tools or something like Skitch to make your images communicate better.
Summary
MindNode is especially great when you’re dealing with something visual.
It lets you “flatten” videos by placing multiple snapshots next to each other.
You learn better because telling stories with text, images, and annotations forces you to engage with a topic more.
Finally, organizing your notes and using images helps you refresh your memory later by leveraging spatial and visual memory.
Highly recommended!